The Correct Order to Apply Skincare
Application order is the most underrated factor in skincare effectiveness. The same products applied in a different sequence can produce noticeably different results. The principle is straightforward — thinnest to thickest, water before oil, actives before moisturizers — but the exceptions and timing details matter as much as the rule. This guide lays out the correct sequence for every product type, with the reasoning behind each placement.
The Fundamental Rule: Thin to Thick
Skincare products are formulated with different viscosities for a reason. Watery serums are designed to penetrate. Thick creams are designed to sit on the surface and seal. If you apply cream first, the serum sits on top of the cream layer instead of reaching your skin. The active ingredients never arrive where they need to be.
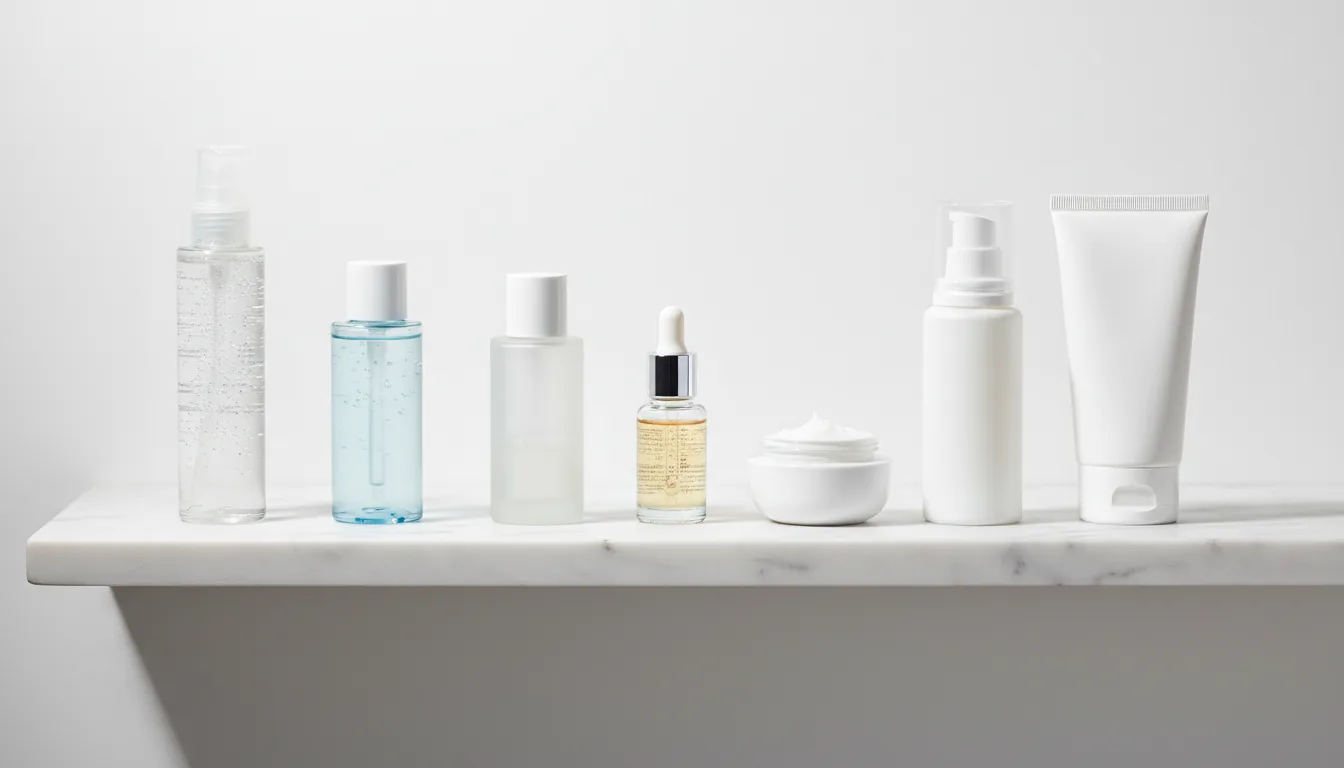
The rule: apply products from thinnest consistency to thickest. Water-based toners first. Then lightweight serums. Then heavier serums or treatments. Then moisturizer. Then oil (if using). Then SPF in the morning. Each layer absorbs partially before the next is applied, building a structured system on your skin.
This principle exists because of basic physics. Water-based products have smaller molecular structures that pass through the skin barrier more readily. Oil-based products have larger molecules that sit on or near the surface, forming a protective seal. When you reverse this order — applying the oil layer first — those smaller water-based molecules hit a lipid barrier and cannot pass through. The active ingredients in your serum never reach the layers of skin where they do their work. You get surface hydration and nothing else. The thin-to-thick rule is not a preference or a suggestion. It is the difference between a routine that delivers results and one that wastes every product applied after the first mistake in the sequence.
Morning Routine: Layer by Layer
Step 1: Cleanser
A gentle cleanser removes overnight oil, dead cells, and any residue from evening products. Splash with lukewarm water first, apply cleanser, massage for 30 seconds, rinse. Morning cleansing does not need to be aggressive — you are not removing makeup or SPF. A mild gel or cream cleanser is sufficient. Some people with dry skin skip morning cleansing and use water only. Fine.
Step 2: Toner (Optional)
If using a hydrating toner, apply to still-damp skin. Pat gently — do not rub. The residual moisture plus the toner preps your skin to absorb the next layer more effectively. Skip this step entirely if your cleanser does not leave your skin feeling tight or stripped. Not everyone needs a toner.
The confusion around toners stems from the category's history. Decades ago, toners were astringent — alcohol-heavy formulas designed to strip oil and "close pores" (pores do not open or close). Modern hydrating toners bear almost no resemblance to those products. They function as a thin layer of humectants (glycerin, hyaluronic acid, panthenol) that prep the skin to receive serums more efficiently. Think of it as dampening a sponge before adding soap — wet surfaces absorb liquids faster than dry ones. If your cleanser leaves skin balanced and comfortable, the sponge is already damp enough. Skip the toner.
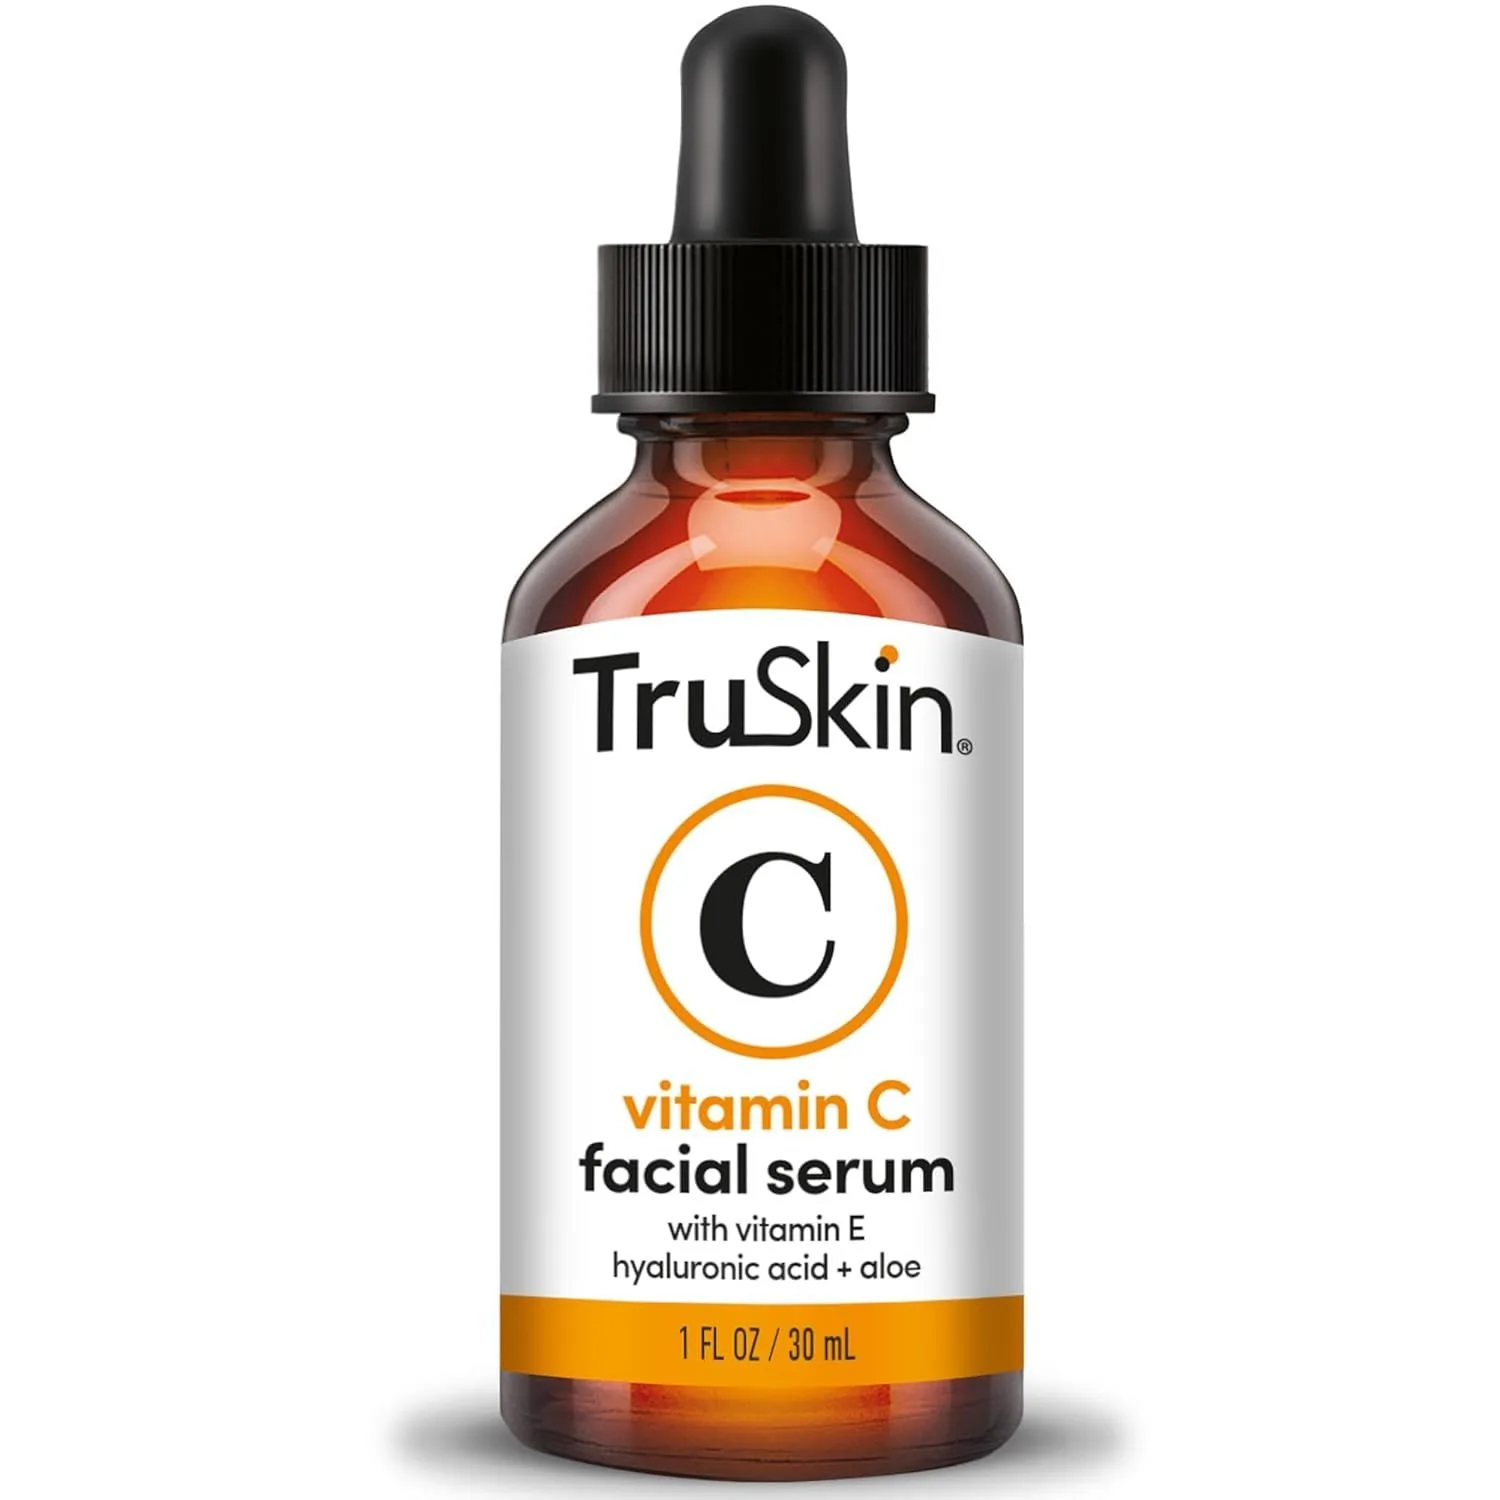
Step 3: Antioxidant Serum (Vitamin C)
Vitamin C works best in the morning because it provides antioxidant protection against UV-generated free radicals throughout the day. Apply 3-4 drops to face and neck. Pat gently until absorbed — do not rub aggressively. Wait 60 seconds before the next step. The serum should feel tacky but not wet before proceeding.
Application technique matters here more than with other products. Vitamin C serums at effective concentrations (10-20% L-ascorbic acid) are formulated at a low pH — typically around 2.5 to 3.5. This acidity is necessary for the Vitamin C to penetrate, but it also means the serum can sting slightly on freshly cleansed skin. Distribute the drops across your forehead, cheeks, chin, and neck before pressing them in rather than rubbing from a single point outward. This distributes the acid evenly and prevents concentration in one area. If stinging persists beyond a few seconds, your skin may need a buffer: apply a thin layer of hydrating toner first, then the Vitamin C serum over slightly damp skin.
Step 4: Hydrating Serum (If Needed)
If you use a separate hydrating serum (hyaluronic acid), apply it after your Vitamin C has absorbed. The HA pulls water into the skin layers that the Vitamin C has already penetrated. Two different functions, no interaction conflicts. Apply to still-slightly-damp skin from the previous step if possible.
Step 5: Eye Cream (If Using)
Eye creams go before moisturizer because the delicate skin around eyes benefits from direct contact with the treatment formula. Use your ring finger (lightest pressure) to tap a small amount around the orbital bone. Do not pull or drag the skin. If you do not use an eye cream, your regular moisturizer works fine around the eyes.
Step 6: Moisturizer
Seals in the serums and provides its own hydration and barrier protection. The moisturizer is the cap on the system — everything underneath it is now locked in. Apply a nickel-sized amount to face and neck. Wait 60 seconds for absorption.
Moisturizer choice matters for layering. Gel-cream formulas absorb fast and layer well under sunscreen — minimal pilling risk, no greasy residue competing with SPF for surface space. Heavier balm-style moisturizers take longer to absorb and can interfere with sunscreen film formation if you rush the next step. In the morning, lean lighter. Save the rich textures for your evening routine where nothing needs to layer on top.
Step 7: Sunscreen (Non-Negotiable)
SPF is always the last step in a morning routine. Two reasons: SPF needs to form a uniform film on the skin surface to work, and anything applied over it disrupts that film. Apply generously — most people underapply by 50%. Use a full two-finger amount (index and middle finger, a strip along each). Wait 2-3 minutes before makeup or sun exposure.
Sunscreen needs time to form a uniform protective film on the skin. Applying makeup or heading into sunlight immediately after SPF application means the film is still setting and protection is uneven. Two minutes is the minimum. Three is better. Use the time to brush your teeth or make coffee — then your face is ready.
Evening Routine: Layer by Layer
Step 1: First Cleanse (Oil or Balm)
The oil cleanse removes SPF, makeup, and environmental debris from the day. Oil dissolves oil — a water-based cleanser alone cannot fully remove silicone-based SPF or long-wear makeup. Massage the oil or balm onto dry skin for 60 seconds, then emulsify with water and rinse. The ELEMIS Pro-Collagen Cleansing Balm turns this functional step into a spa-like ritual.
Step 2: Second Cleanse (Gel or Cream)
The water-based cleanser removes residue from the first cleanse and any remaining impurities. This double-cleanse method is the most thorough way to start your evening routine with thoroughly clean skin. If you did not wear SPF or makeup during the day, one cleanse is sufficient.
The double cleanse exists because of a fundamental chemistry problem: oil and water do not mix. Sunscreen and makeup contain oil-soluble and silicone-based ingredients that a water-based cleanser cannot fully dissolve. An oil-based first cleanse breaks down those oil-soluble films. The water-based second cleanse then removes the emulsified residue along with any water-soluble impurities. Skipping the first cleanse when wearing SPF means trace sunscreen ingredients remain on the skin overnight, potentially clogging pores and interfering with your treatment products. On days with no SPF or makeup, one water-based cleanse handles everything.
Step 3: Exfoliant (2-3 Times Per Week)
Chemical exfoliants (AHA, BHA, PHA) go on clean, dry skin. They need direct contact with the skin surface and a specific pH range to work. Apply, then wait 10-15 minutes before layering anything else. This waiting period lets the acid do its work without being buffered by subsequent products. On non-exfoliant nights, skip this step entirely.
Do not use exfoliants on the same night as retinol. Both increase cell turnover and sensitivity. Using both in one evening risks barrier damage, redness, and peeling. Alternate nights: exfoliant on Monday and Thursday, retinol on Tuesday, Wednesday, Friday. This gives your skin recovery time between active treatments.
Step 4: Treatment Serum (Retinol or Active)
Retinol, retinaldehyde, peptide serums, or targeted treatments go after exfoliants (or directly after cleansing on non-exfoliant nights). Apply a pea-sized amount to dry skin. Avoid the eye area unless the product is formulated for it. Wait 60 seconds for absorption.
Step 5: Hydrating Serum
If using a separate hydrating serum (hyaluronic acid, Vichy Mineral 89), apply after your treatment has absorbed. The hydration supports the active and prevents overnight dryness. Apply to slightly damp skin if possible — spritz with a facial mist before applying if your face has dried completely.
Step 6: Eye Cream
Same technique as morning. Ring finger, tap gently. Evening eye creams can be richer than morning versions since they do not need to sit under SPF or makeup.
Step 7: Night Cream or Moisturizer
Evening moisturizer can be richer than your morning version — there is no SPF layer needed on top and no concern about a dewy finish looking oily in daylight. Ceramide-rich creams, peptide moisturizers, and sleeping masks all fit here.
The overnight window is when your skin does its heaviest repair work. Cell turnover peaks between 11pm and 4am, and transepidermal water loss increases during sleep because you are not reapplying products or drinking water. A rich night cream compensates for this increased water loss while providing the lipids and actives that support the accelerated repair cycle. If you are going to invest in one premium moisturizer, make it your evening option — the extended contact time (six to eight hours) gives the formula more opportunity to deliver its ingredients compared to a morning moisturizer that sits under SPF and makeup for a fraction of that duration.
Step 8: Facial Oil (Optional)
If you use a facial oil (marula, rosehip, argan, squalane), it goes last. Oils are occlusive — they seal everything underneath. Applying oil before moisturizer prevents the moisturizer from absorbing. Two to three drops pressed into the skin over your moisturizer creates a nourishing seal for overnight recovery. Squalane absorbs fastest of the common facial oils, making it the best choice for humid climates or oily skin types that still want the occlusive benefit without heavy residue on the pillowcase.
Patting product into your skin is gentler than rubbing and distributes product more evenly. Rubbing creates friction that can irritate sensitized skin and displace products into areas where you applied less. Press your palms flat against your face and pat gently. For serums, spread across fingertips and press into multiple spots simultaneously. Your skin absorbs product — you do not need to rub it in.
When to Break the Rules
The thin-to-thick framework works for 90% of routines. But certain products and certain skin conditions require deliberate exceptions. Knowing which rules to break — and why — separates informed skincare from rigid adherence to a formula that was never meant to be absolute.
- Oil-based Vitamin C: Ascorbyl tetraisopalmitate is oil-soluble and goes in the oil step, not the serum step. Product consistency dictates placement, not the active ingredient.
- Prescription tretinoin: Some dermatologists recommend applying tretinoin after moisturizer (not before) to reduce irritation. The moisturizer layer buffers penetration. Follow your dermatologist's instructions over general layering rules.
- Niacinamide + Vitamin C: The old advice to never combine them is outdated. Modern formulations of both are pH-adjusted to work together. Layer in either order. If one formula pills, switch the order.
- Pilling products: If products ball up on your skin, the layers are not absorbing before the next is applied. Wait longer between steps, use less product, or switch the order. Silicone-based products often pill under water-based products — reverse the order if this happens.
What Happens When Products Pill
Pilling — when products ball up on the skin instead of absorbing — is the most common sign of a layering problem. It happens when a water-based product is applied over a silicone-based product, when too much product is used in a single layer, or when layers are applied before the previous one has absorbed.
The fix is almost always one of three adjustments. First, wait longer between steps — 60 seconds minimum, 90 seconds if the product is thick. Second, use less product. Most people over-apply serums and moisturizers by 30-50%. A pea-sized amount of moisturizer covers the entire face when distributed with light pressing motions. Third, check the base of your products. If your serum is water-based and your moisturizer is silicone-heavy (look for dimethicone in the first 5 ingredients), the water layer cannot bond to the silicone layer and balls up on contact. Switch to a water-based moisturizer or reverse the order. If pilling persists after all three adjustments, the products may simply be incompatible — different formulation bases from different brands do not always play well together, and replacing one product in the stack is sometimes the simplest solution.
The minimalist truth. A 3-step routine (cleanser, moisturizer, SPF) done consistently for years will produce better skin than an 8-step routine abandoned after a month. Application order matters, but consistency matters more. Start with the minimum effective routine, add products one at a time, and only increase complexity when each product has proven its value on your skin.
Watch: Marlena Stell's take on the The Correct Order to Apply Skincare

Frequently Asked Questions
What happens if I apply products in the wrong order?
Two things. First, thicker products applied before thinner ones create a physical barrier that prevents lighter products from reaching the skin — the serum sits on top of the cream instead of penetrating. Second, pH-dependent actives (Vitamin C, AHAs) lose effectiveness if applied over a buffering layer. Wrong order does not damage skin — it just wastes product and time.
How long should I wait between skincare steps?
Generally 30-60 seconds — enough for the product to absorb but not fully dry. Water-based serums absorb within 30 seconds. Thicker creams need a full 60 seconds. SPF should be the last step and needs 2-3 minutes to form a uniform protective film before sun exposure. The exception: after a chemical exfoliant, wait 10-15 minutes before applying other products.
Do I need a different routine for morning and evening?
Yes. Morning focuses on protection: antioxidant serum (Vitamin C), moisturizer, SPF. Evening focuses on repair: double cleanse (if wearing SPF/makeup), treatment actives (retinol, exfoliants), and richer moisturizer. SPF is morning only. Retinol is evening only. Hydrating serums work in both routines.
Where do facial oils go in the routine?
Last, before SPF in the morning (if using a dry oil) or after moisturizer in the evening. Oils are occlusive — they form a seal over whatever is underneath. Anything applied after oil cannot penetrate effectively. The one exception: some people mix 2-3 drops of oil into their moisturizer and apply them together as a single step.
Can I skip steps if I am short on time?
Yes. The minimum effective morning routine is cleanser, moisturizer, SPF — three steps, under two minutes. The minimum evening routine is cleanser and moisturizer. Everything between (serums, actives, toners) adds benefit but is not mandatory. A simple routine done consistently outperforms a complex routine done inconsistently.
Should toner go before or after serum?
Before. Traditional toners (astringent, alcohol-based) are outdated. Modern toners are either hydrating (prep the skin with water for better serum absorption) or exfoliating (AHA/BHA liquid). Hydrating toners go immediately after cleansing on damp skin. Exfoliating toners go after cleansing on dry skin, followed by a 10-minute wait before serum.
How many serums can I layer at once?
Practically, 2-3 maximum. Each serum needs to absorb before the next is applied, and too many layers compete for absorption and increase the risk of pilling (product balling up on the skin surface). If you want to use four different actives, split them between morning and evening instead of layering all four at once.
Best morning serum step — pairs with any routine, absorbs quickly
Get Our Top 3 Picks
Get our top 3 picks for your budget — one email, then only updates.
Only when something changes. Unsubscribe anytime.
Ready to Buy? Start Here
Based on this guide, our #1 recommendation:
The Ordinary Daily Set Best budget skincare set for beginners Read Full Review →